How to Take Better Photos of Your Teeth at Home Using a Mouth Camera
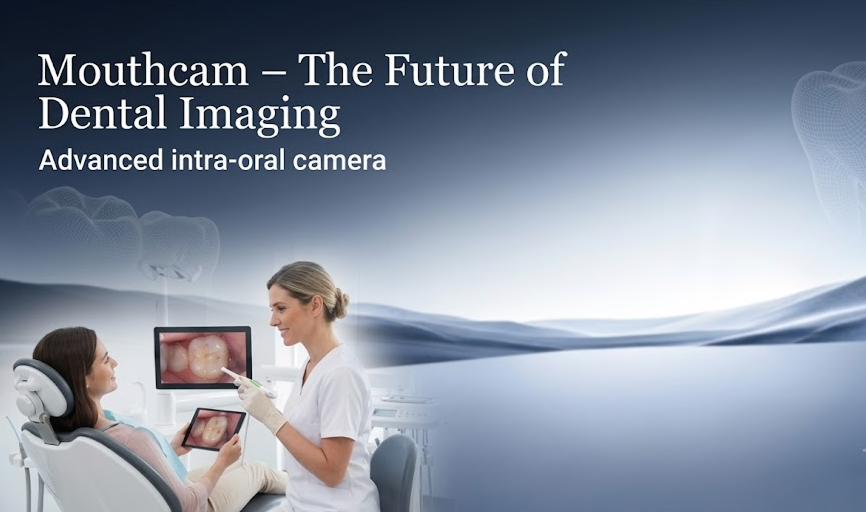
If you’ve had a dental checkup in the last few years, there’s a good chance your dentist held a small, pen-shaped wand up to your teeth and gums, and a moment later your own mouth appeared on a screen in front of you. That wand is an intraoral camera often called a “mouth camera” or “mouthcam” and it has quietly become one of the most useful tools in dentistry. It hasn’t replaced X-rays or a dentist’s trained eye, but it has changed how clinicians spot problems and, just as importantly, how patients understand what’s happening in their own mouths.
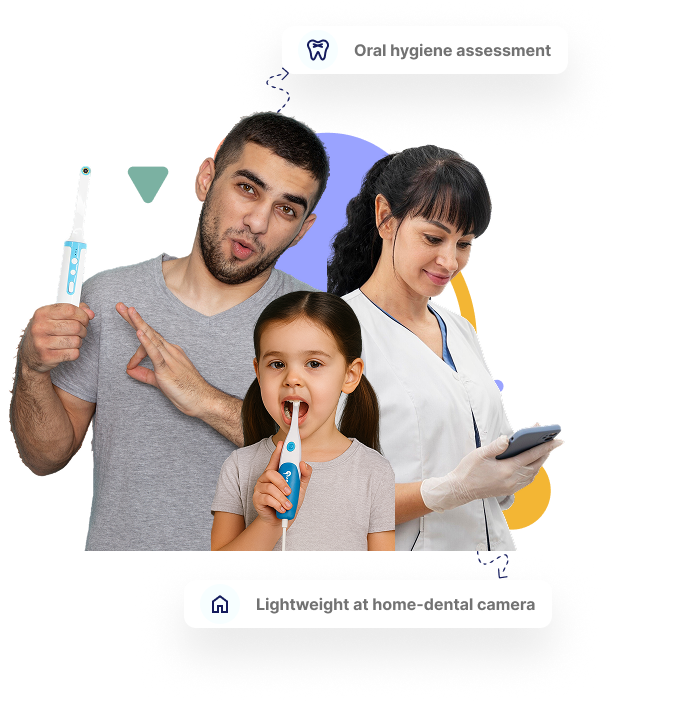
Taking photos of your teeth at home has become easier with the availability of mouth cameras, also known as intraoral cameras. Whether you’re preparing for a virtual dental consultation, monitoring orthodontic treatment, or simply keeping track of changes in your oral health, clear images can help you communicate more effectively with your dental provider.
While a mouth camera does not replace a professional dental examination, it can provide a detailed view of your teeth and gums between appointments. Learning how to capture clear, well-lit images can make those conversations more productive and help you document your oral health over time.
Why Take Photos of Your Teeth at Home?
Photographing your teeth isn’t just for cosmetic purposes. Clear intraoral images can be useful in several situations, including:
· Preparing for a virtual dental consultation
· Sharing images with a dentist before an appointment
· Monitoring orthodontic treatment
· Tracking changes in teeth or gums over time
· Documenting healing after a dental procedure
· Keeping a visual record of your oral health
When images are clear and properly captured, they provide valuable context during discussions with a licensed dental professional.
What Is a Mouth Camera?
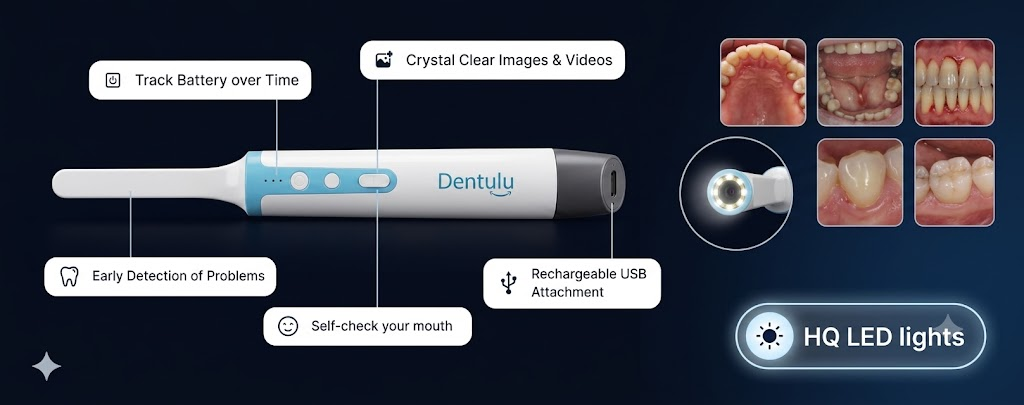
A mouth camera, or intraoral camera, is a handheld digital device designed to capture close-up images and videos inside the mouth. Most models include built-in LED lighting and high-resolution imaging to help illuminate areas that are difficult to see with the naked eye.
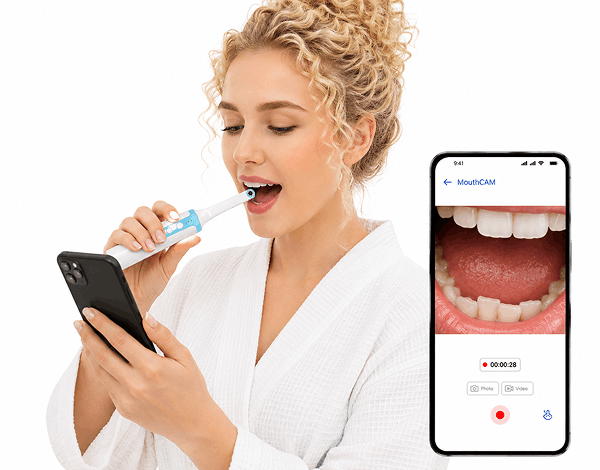
Unlike taking photos with a smartphone alone, a mouth camera, wired or wireless is specifically designed to capture detailed images of teeth, gums, and other oral structures.
What You’ll Need
Before taking photos, gather a few simple items:
· A clean mouth camera or intraoral camera
· A smartphone, tablet, or computer (depending on your device)
· A well-lit room
· A mirror
· Clean hands
· A tissue or gauze if needed to gently move the cheek aside
If your mouth camera includes adjustable lighting, choose a comfortable brightness that clearly illuminates the teeth without creating excessive glare.
Step 1: Clean the Camera
Before each use:
· Wash your hands.
· Clean the camera according to the manufacturer’s instructions.
· If disposable sleeves or covers are recommended, use a new one.
Maintaining proper hygiene is important whenever a device is placed inside the mouth.
Step 2: Brush Before Taking Photos
Food particles and plaque can make images difficult to interpret.
Before capturing images:
· Brush your teeth.
· Floss if possible.
· Rinse your mouth with water.
This helps produce cleaner images and allows the natural tooth surfaces to be seen more clearly.
Step 3: Choose Good Lighting
Although most mouth cameras include built-in LED lights, the surrounding room lighting also makes a difference.
Try to:
· Stand in a brightly lit room.
· Face a light source.
· Avoid strong shadows.
· Avoid direct sunlight that may create reflections.
Consistent lighting helps improve image clarity.
Step 4: Keep the Camera Steady
One of the most common reasons for blurry images is camera movement.
For better results:
· Hold the camera with a steady grip.
· Rest your elbow against your body if needed.
· Move slowly inside the mouth.
· Pause briefly before capturing each image.
Many devices allow you to preview the image before saving it.
Step 5: Capture Different Angles
A single photo rarely shows the entire mouth.
Try capturing:
Front Teeth
Smile naturally and photograph the upper and lower front teeth.
Left Side
Open slightly and photograph the teeth from the left.
Right Side
Repeat for the opposite side.
Upper Teeth
Tilt the camera upward to capture the roof of the mouth and upper teeth.
Lower Teeth
Tilt downward to capture the lower arch.
Close-Up Areas
If you’re monitoring a specific tooth, restoration, or gum area, take several close-up images from different angles.
Multiple images provide a more complete view for your dental provider.
Step 6: Avoid Common Mistakes
Some simple adjustments can improve image quality.
Avoid:
· Moving the camera too quickly.
· Allowing saliva to cover the camera lens.
· Taking photos in dim lighting.
· Holding the camera too far away.
· Using excessive digital zoom.
If the lens becomes foggy or wet, gently wipe it before continuing.
Step 7: Review the Images
Before sending images to your dentist, take a moment to review them.
Look for:
· Sharp focus
· Good lighting
· Clear visibility of the area of interest
· Minimal glare
· Complete coverage of the teeth or gums
If necessary, retake the image before sharing it.
When Can Mouth Camera Photos Be Helpful?
High-quality intraoral photos may support communication in situations such as:
· Virtual dental consultations
· Dental second opinions
· Orthodontic progress updates
· Questions about a restoration
· Follow-up after dental treatment
· Monitoring changes discussed with your dentist
Images provide visual context but should always be interpreted by a qualified dental professional.
Using Mouth Cameras as Part of Connected Dental Care
As digital dentistry continues to evolve, mouth cameras are becoming part of a broader ecosystem that includes virtual consultations, digital communication, and patient education.
Patients can capture images from home and securely share them with their dental provider when appropriate. This may help facilitate discussions before or after an in-person visit.
Within this digital ecosystem, solutions such as the Dentulu MouthCAM, including the Dentulu MouthCAM Wired, Dentulu MouthCAM Wireless, and MouthCAM Pro AioBio Intraoral Camera, provide options for capturing intraoral images as part of a connected oral health experience.
Remember: A Mouth Camera Doesn’t Replace Your Dentist
While a mouth camera can provide detailed images, it is not intended to diagnose dental conditions or replace comprehensive clinical examinations.
Dentists may use a combination of:
· Clinical examination
· Dental X-rays
· Medical and dental history
· Digital images
· Other diagnostic tools
Together, these help provide a more complete understanding of oral health.
Final Thoughts
Learning how to take better photos of your teeth at home can improve communication with your dental provider and help you document changes in your oral health over time. By using good lighting, capturing multiple angles, and following simple photography techniques, you can produce clearer images that support virtual consultations and ongoing dental care.
As digital dentistry continues to grow, mouth cameras are becoming valuable tools for patient education, communication, and home monitoring. Whether you’re preparing for a virtual consultation or simply keeping a visual record of your smile, clear intraoral images can contribute to more informed conversations with your dental team.